Friday, October 17, 2014

Hawaiian Applique at Rock Paper Scissors in Montclair, NJ Sunday, October 26th

I will be teaching a Hawaiian Applique by Machine Class at Rock Paper Scissors in Montclair, NJ October 9th 2014. Back in August, I spent parts of a weekend making samples for the store to display and use to promote the class. I really enjoyed the process of updating the well known classic technique to something a bit more modern and faster.

Hawaiian Applique traditionally is two pieces of fabric where one is applied to the other, either using hand applique or reverse applique. In my class, we use freezer paper and glue to create the Hawaiian motif and make the piece to be applied down on the background. How my class differs is that we use the sewing machine, invisible thread and tiny electronic stitches to finish the edges.

I love Hawaiian Applique because it brings me back to my childhood. Do you remember taking a sheet of paper and folding it several times, then cutting out designs that would make snowflakes? This technique is very similar to those school kid snowflakes we all made and loved. Instead of construction paper, we use freezer paper which has a waxy coating on it that will stick to washed fabric when heated with an iron.

Here are photos of the finished samples. During the class I will show many more finished pieces that I have done using this technique.


Since its October and Halloween is just around the corner, here are some of those blocks I made using the techniques you will learn in this class. I had so much fun making these patterns by Tina Gravatt and the skull one with the Day of the Dead fabric always gets the most comments.


For those of you looking for holiday and winter inspiration, here are two additional blocks I've made of snowflakes using this technique as well.


Please come join us on October 26th. Call the store at 973-337-6759 to sign up for this class and get the supply list.

#hawaiianappliquebymachine
#halloweenappliquebymachine
#learnappliqueinaday

Wednesday, October 15, 2014

Custom Quilting 3D Windmills

I just finished up two beautiful made 3D Windmill quilts pieced by the lovely Judy Josephson of New Jersey. Judy is the lucky grandmother of newborn twin baby boys and she made these adorable quilts for the most recent additions to her growing team of grandsons.

The fun part of finishing the quilts was being able to quilt whatever I wanted in the blocks and borders. The difficult part was the quilting of the blocks because of the three dimensional element of the wind mill blades. I needed to stop, pin each 'flap' out of the way four times for each block. I wanted to share my experience with you because I learned so much along the way with these blocks.

Judy came to me with her quilts neatly pressed as well as more than large enough backing and batting. She also had her wish list of instructions for me to consider while quilting her quilt. I had never had a customer hand me a to do list of do's and don'ts. But I have to admit that that list helped with our planning discussion. It allowed us to review her expectations and desires and it gave me a much better idea of what this customer wanted. The quilt backs were pieced and also had large panels with a really fun rabbit print in the middle. Judy wanted me to consider this when I quilted them, ensuring the quilt was centered both horizontally and vertically. This is a fairly uncommon request, but it made sense looking at the backings she had lovingly created. She had even marked with painters tape where the bottom of the quilt should end up on one of them.

I started with Adam's quilt simply because A comes before B. The fabrics spoke to me, especially the grey herringbone one in the outermost border and block backgrounds. I quilted the border with a random zig zag to make it look. Like a child's drawing and the inner border was done with a swirl vine to fill it up and add consistency to the density of the quilting. The name and animal applique pieces were outline quilted first. I even gave the hippos kneecaps, eyebrows and nostrils in stitches. Judy is going to add eyes to the faces when she gets them home.

Next I decided to quilt the centers of each block Before the borders. I determined my best bet was to pin the flap of the windmill triangle away with a long glass headed quilting pin. It was necessary to have the machine throat plate under the section I was about to quilt in order to place the pin, catching just the tip of the 'wing' and to ensure the pin caught the background and the point of the pin came back up to to top so the machine wouldn't catch on the pin itself as I was moving the long arm around.

I found my trusty 6" ruler to be most useful for stitching in the ditch around the outside of each quadrant square. One I had done the stitch in the ditch, I quilted the individual square with various stitches of my own choice. These were sewn the same on each of the 4 windmill background squares, but I changed them up,for every windmill so they added variety. I used loops, fans, lines, squiggles, cross hatching varieties, coffee beans (because new parents need coffee, right?), zig zags, etc. I made sure that each of the rows shifted the patterns to the right by one windmill block, adding a nice diagonal changeover as well.

I have to admit it was slow going because there was so much stopping, pinning, starting, stopping, unpinning and more pinning going on. I took my time and I am glad that I did. The results were well worth the effort and the textural interest added to the quilt really looked nice when completed. I also realized I had completely underestimated the amount of work needed to custom quilt these two baby quilts.


I took a breather after finishing the Adam Quilt before I tackled Benjamin's. Benjamin's quilt had different background and outer border fabrics than Adam's. I started with the applique name and animals in the top border adding in the same details as the other quilt. However, I took a queue from the border fabric that looked like a little straw with beads on it and freehand quilted my own modern design in the outer border. This part went very fast as did the inner border which was random loops and squiggles. However, I screwed up and forgot to check my stitch length in the top border (used a 9 instead of an 11) and I needed to rip out the squiggles and restitch. Frustrating, however, the size 9 stitches came out quickly and easily. Another lesson learned, always check your stitch length before starting to stitch after basting the layers together when loading the quilt!

I set out to make different quilting designs in the various blocks, using some of the same design elements as the first quilt, but tried many new and modern designs that I made up as I went along. Admittedly, I added two blocks with feathers in them because I love feathers and I thought they gave those blocks movement. However, when I re read Judy's instructions as I packed up her finished quilts for pickup, I realized she had said "no feathers!". When she arrived to pick up quilts, I pointed the feathers out to her and I would have removed and re stitched another pattern if she really wanted me to, but she said they were fine and no worries. Lesson learned here is that if you are quilting multiple quilts for someone and they have given you specific instructions, re-read them in between quilts to make sure you refresh your memory with the customer requirements. A few of the windmill blades need pressing after quilting, but I left that up to her to do since I wasn't sure if she had washed her fabrics before piecing.
I also decided to leave the little tiny 1/2 inch sashings unquilted on both quilts. The cool effect this had on the back was that the rabbits looked like they had their own little quilts on them. Judy, noticed it right away and thought it was pretty cool. Since the quilts will become wall hanging for the nursery, no one will probably ever see the backs, but it was an additional little unplanned feature that is now part of those finished quilts. I thought by leaving them unquilted it added a nice dimension to the quilt front.
Judy was very pleased with her quilts, and gave me a wonderfully generous tip that made up for my original estimation for quilting services. She even took one of the quilts to the Pennington Quilt Works and wrote me a nice note this week on how much they loved my stitching.

#3Dpinwheelshowtoquilt #customquilting #quiltingflaps #quiltinglessonslearned

Thursday, October 9, 2014

Bundt pans make more than cakes

Tonight I decided to try and use my favorite bundt pan, the Bavarian, to bake dinner for us. I had seen a recipe somewhere along the line suggesting that one could bake good other than cakes in the bundt pan with good results. I am happy to report, it works!

I had a package of uncooked breakfast sausages which I set in a frying pan to cook. As they browned, I chopped up some small colored sweet peppers, a small yellow onion and tossed them with the meat to cook as well. It took about 10 minutes.

In the meantime, in a large bowl, I combined 6 fresh eggs plus 3/4 cup egg whites, 1/2 cup skim milk and some salt and pepper plus a couple of pinches of italian seasonings. I whipped these together until fluffy. I added 2 1/2 cups of frozen shredded hash browns and 1 cup of shredded cheddar cheese. Then I added the veggies and sliced up sausages. After blending the ingredients well, I cut up 1 roll of biscuit dough into 1 inch chunks and stirred them to coat them.

Then I prepped the bundt pan by spraying liberally with Pam and then sprinkled 2 Tsp of bread crumbs over the inside. Next I poured the egg, meat and veggie mixture into the prepared pan, and pressed the ingredients down to ensure there are no air pockets. I decided it might be wise to place the pan on a baking sheet, in case it bubbled over, and baked in a preheated 400 degree oven for 55 minutes.

Viola! The Egg and Sausage Bake was done. I promptly removed it from the oven and cool for 10 minutes to set, before inverting onto a platter to serve.


It turned out golden brown and was delightful. The combination of the eggs, sausage, potatoes, onion, pepper and spices plus the cheese were heavenly. It made quite a hearty meal and there was plenty leftover for my breakfast this morning.


I suggest you refrigerate leftovers which can be reheated in the microwave for 1-2 minutes to warm before consuming


#eggsinabundt #breakfastbundt #sausageeggbiscuitbake #notjustforcake

Wednesday, October 8, 2014

Jelly Roll Jumble

On November 9th, I will be teaching a class at Rock, Paper, Scissors in Montclair, NJ. The class will feature 4 different quilts you can create using one jelly roll made of 2.5" strips of fabric.

It was harder than I thought it would be to create patterns for the various quilts I wanted to teach how to make. But now they are done. And it was a great experience creating patterns and instructions for something new.
I also took the time to finish each of them into quilts (not just tops) for the class samples. Apologies for the clothespins, but it was quite windy outside when I photographed them before taking them to the shop for display.


Quilt #1 - Three Dudes Quilt


Quilt #2 - Stacked Spools


Quilt #3 - Snowball & Shoofly


And finally Quilt #4 - Modern Squares


I hope you will be able to join me for this fun and innovative class. Students will learn how to make all four quilts in a single afternoon. Who knew you could create so many different things from 20 pre-cut strips of fabric, some light and dark yardage and a little thread? The Fabrics in these quilts are all from Free Spirit/Rowan True Colors line.


#JellyRollJumble #StripPiecing #3dudes #stackedspools #snowball&shoofly #modernsquares #rowantruecolors


Tuesday, October 7, 2014

October 2014 Baskets

I just wanted to share with you pictures of my latest baskets that I have created.

The first one is a elongated yellow bread basket. First of its kind. I like it enough that I will probably make more of this shape.


This next basket is unwrapped clothesline sewn with a variegated thread and embellished with a shell leaf on the front. I had started this in a class as a demonstration and never finished it.
Now its done.


This next basket was another attempt at an elongated bread basket, done in rainbow colors. It ended up turning out differently than I hoped. When I showed it to Mike, he said that
it looked like a boat. Hence the name, THE REMOTE BOAT. Works great at keeping our remotes from getting lost. I especially like the little LOVEBIRD embellishment on the front that has the same colors as the fabric on the basket wrapping.


This next basket was made with primarily girly pink fabrics. I wanted to make something that would appeal to the younger dancers that attend my niece's Dance School, Lumina Dance Arts in West Caldwell, NJ. I plan on gifting it her so she can auction it off during the nutcracker. The embellishment has a Dance Fairy on one side and a pretty ballerina on another. Wouldn't it make a great place to keep little girly things?


The next basket I call the Big Blue Pencil basket. I used a wide variety of blue fabrics, different textures and then added handles and a cute pencil embellishment on the front. The picture of the inside of the basket really shows how pretty the blue colors look together.


I really still enjoy making these baskets and teaching the classes locally to others on how to make them as well.

#clotheslinewrappedbaskets #coilbaskets #breadbasket #remoteboat #fabricwrappedclotheslinecrafting

Monday, October 6, 2014

November Retreat Update

Hello Ladies
Can you believe its only 38 days until the Modern Quilt Guild Retreat? I am very excited to be writing to all of you to update you with details of our upcoming sewing get away. Hopefully you've given some thoughts to what you want to work on while we attend the retreat. Bring several things to work on, you'll be surprised at how much you can get done when you don't have to cook, clean dishes or do laundry!

All of you (or most of you) have sent me a deposit check by now to secure your spot.
PAYMENT---
The remainder of payment is due to me by October 20th, basically two weeks from today. Here is a breakdown of what you need to send to me
Wednesday - Sunday lodging and meals - $323 total less deposits $110 = Balance due: $213
Friday - Sunday lodging and meals - $197 total less deposits of $65 = Balance due $ 132.00
Wednesday - Friday lodging and meals - $143 total less deposit of $65 = Balance due $ 78.00
Wed - Sunday (private room lodging/meals $353 total less deposit of $120 = Balance due $233.

If you already paid in full (you know who you are), then no additional money is needed at this time.

If you have told me you want to attend, but have not yet sent me any money, I need to hear from you ASAP to secure your spot. I am including you on this email because you have expressed an interest in possibly joining us. If you want to come, send me an email and a check for the full amount by October 20th, and you're in!

Please make your checks payable to:
Cross Roads Retreat Center
and mail them to me before October 20th, 2014 at:
Diane Fama
31-12 Rosalie Street
Fair Lawn, NJ 07410


Upon arrival at the retreat center, you will unload your things, park your car and check in with me.
Everyone will be required to review the retreat center rules, sign a waiver and then the fun begins.
You may check in anytime after 12:00 p.m. on Wednesday.

SPECIAL NEEDS--
In addition to your checks, I need to know if you have any special needs that will require special accommodations. This includes food allergies, or lifestyle requirements (handicap access, no peanuts, low salt, vegetarian, etc). if you provide this back to to me via private return email ASAP, I can ensure your needs are met. If you do not then no guarantees can be made to accommodate your special needs. The retreat center is really good at accommodating our needs, but we need to let them know ahead of time in order to help them accomplish this. Just drop me a note to njquilter@optonline.com with the subject line, retreat needs. Thanks.

CLOTHING
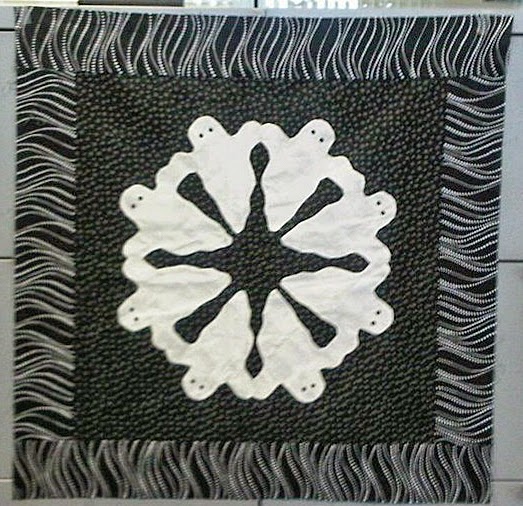
Plan to bring layers to wear because the temperatures at the retreat center can vary significantly throughout the day and evening. Dress is casual for the entire event. Slippers are encouraged and if you want to feel like you are at home, bring a quilt for your twin sized bed to use in case it gets cold. When I was there in March, the cotton bedspreads were nice, but thin. The rooms have individual heat and a/c controls to use. It would be fun to see everyone's handy work on their beds wouldn't it? There might even be a prize for the best bed quilt.


SEWING SUPPLIES
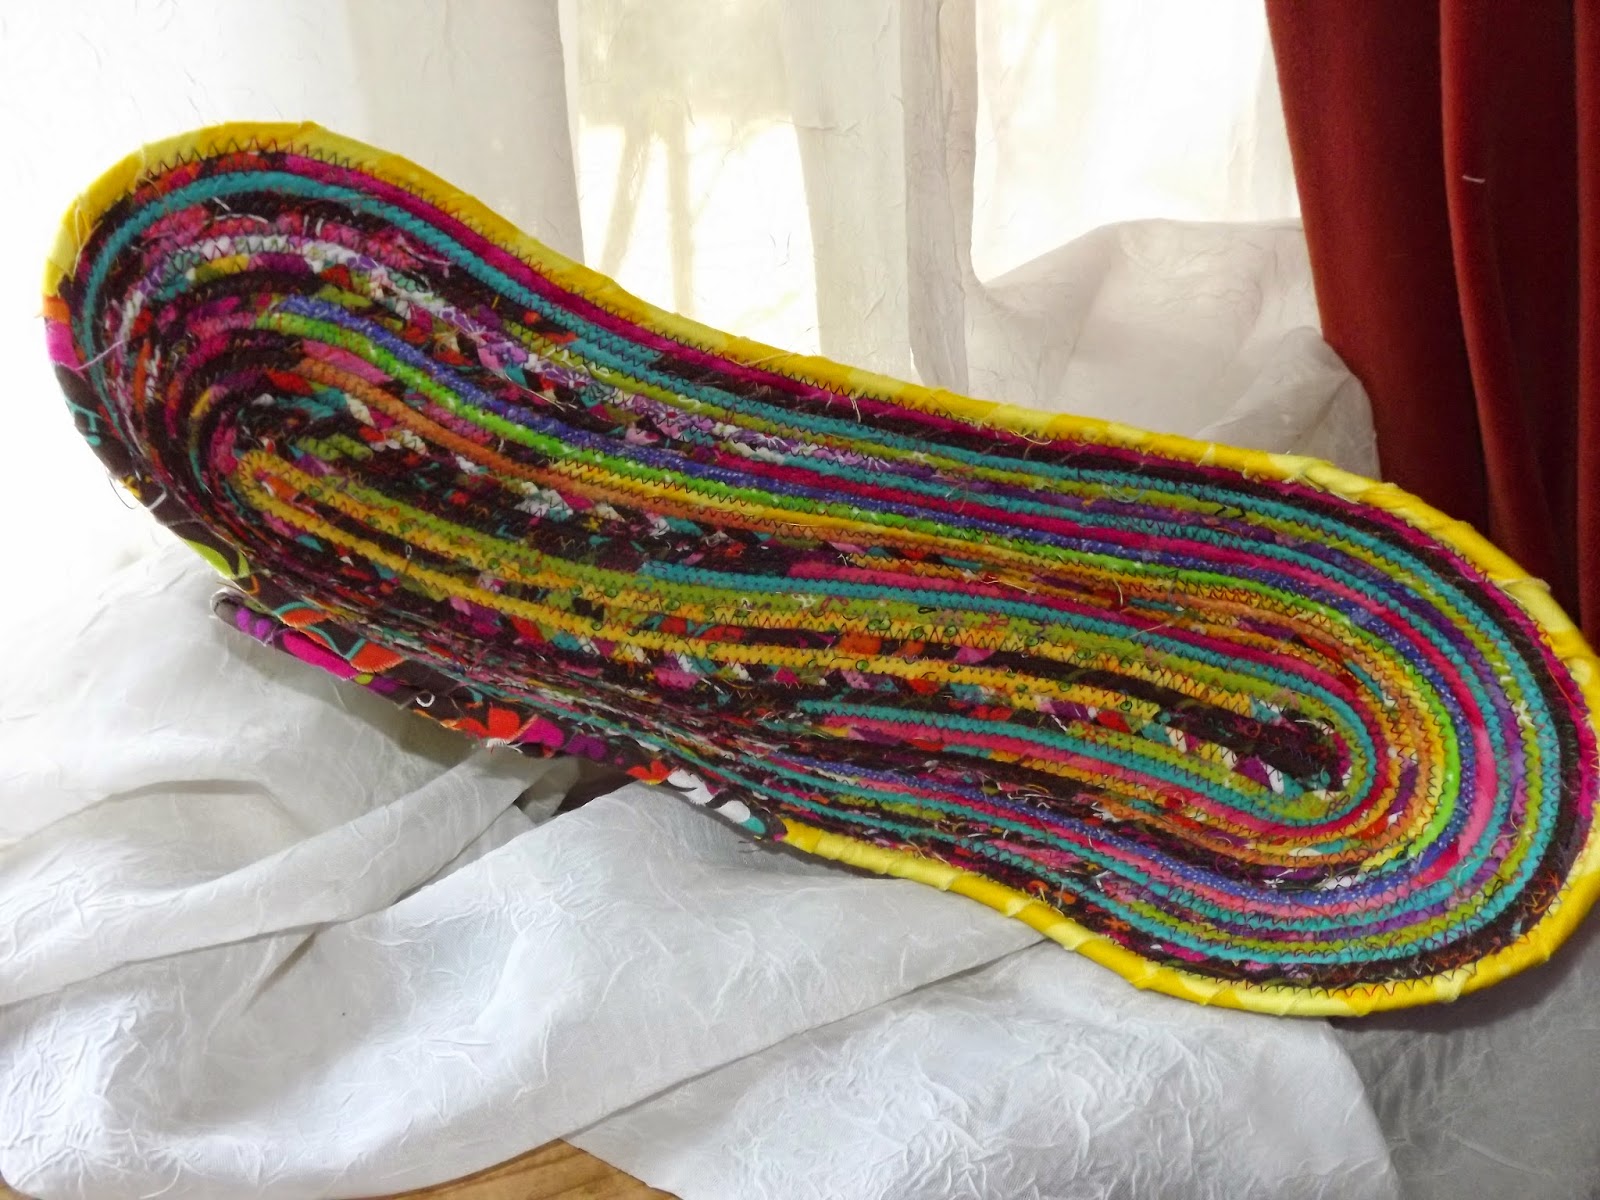
Plan to bring everything you need to work with including fabric, sewing machines, irons, ironing surface, design walls, sewing supplies, rotary cutting tools, etc. If you have an iron, ironing board, BIG board, large cutting mats, rulers, etc. that you are willing to share, please let me know via email. I do have one big board for ironing, but it might be nice to have more than one if you can bring yours. Also plan to bring at least 1 extension cord and a power strip to use. We will be sharing wall plugs so the power strips help to make sure everyone that needs power has it. Masking or painters tape is also recommended to tape down cords so no one trips. Make sure your items are labeled with your name for easy id when we pack it up.

FOOD/SNACKS/BEVERAGES to share
If you want to bring food or snacks to share, please by all means feel free to do so. Home baked goods, fruits, snacks, and store bought items are welcomed. Wine and beer are allowed if you indulge. Healthy items are appreciated, and so are the decadent ones. Surprise us.

Meals will be served in the dining hall at 8:30 am, 12:30 pm and 5:30 pm each day.

DRIVING DIRECTIONS:
Please check the Cross Roads Retreat Center Website for the full address and driving directions.
www.crossroadsretreat.com

If you are using GPS to drive to the retreat, please be sure to use PORT MURRAY as the town as there are two similar addresses in that area.

There is free WIFI so feel free to bring your tablets, phones and laptops if you do not wish to completely off the internet.


Any other questions, please email me at njquilter@optonline.net my home phone # 201-794-6386 if you wish to call me.


Thanks and I look forward to a great gathering of some extraordinary people.

Diane

Thursday, September 25, 2014

Selvage Wrapped Coiled Baskets

More than two years ago, I was given two large plastic food canisters filled to the top with the selvages cut off the ends of fabric. I had mentioned I was into making selvage quilts and my friend Vicki decided to save them for me. When I cut selvages to make a quilt, I always leave at least 1" of printed fabric beyond the selvages. Many of the pieces that were gifted to me were basically only the white selvages themselves with little to no colored fabric included. Being the fabric hoarder that I am (like many quilters), I put them aside to figure out what I was going to do with them at a future date.

This past week was that future date. I was cleaning the sewing studio and found the plastic containers jammed packed with selvages. I pulled them out and the great idea lightbulb went on over my head. I sat and sorted them into white and off white selvages and separated those from the other colors. I put them next to my favorite evening space along with some cotton clothesline and glue sticks. I was going to wrap a couple of hanks of clothesline up and make baskets to see how the selvages would look. Here is what the first wrap looked like before sewing.


Before I was halfway through the first 50 feet of clothesline, I could tell I was on to something new and unique. The printing registration circles, numbers and colors were really pretty offsetting the bland whites and off white. The printed words on the selvages themselves created their own random patterns. Those printed details come in all types of fonts and colors. I made sure I used many different types. Often there are printed symbols and shapes in these often discarded fabric edges, and these can be seen in the finished wrap and basket if you look closely. They almost resemble hidden hieroglyphs like those used by the ancient Egyptians.

In some cases, the inner edge of the fabric has a small 1/8" or so of fabric that contrasts nicely with the rest of the selvages. When wrapped tightly and consistently, these will create diagonal stripes that run through the basket. My BFF Martha, said they look to have a special morse code visible to the naked eye.

I was concerned that the tightly woven selvage edges might prove to be difficult to sew on my home machine, but a clean, freshly oiled and well tuned Bernina is up for the task with a sharp new #90 needle. I decided white cotton thread would be my best choice to construct the baskets. It was the right choice to blend with the myriad of colors found in the selvages I used.

The first basket I created was a basic round shape with a nice round medallion on the front. I found a really cool key and newspaper feather pendant which I attached after sewing the basket. I love the way it turned out.


The next few I made from selvages were oval shaped baskets. The first one is from dark color selvage edges and the second one is light colored selvage edges. I especially love the fun little apple tree embellishment on the first one.


It had been awhile since I created a square shaped basket. I decided I wanted to try to make a circle in a square basket from selvages. When I was done with it, I knew I had the perfect glass embellishment for it.

One of the wraps I created this week was a 100 feet in length. It makes a really big basket and this is what it ended up looking like when sewn. I decided to try and create the scalloped edges for something different and I think it's a pretty cool look. The scallops are very time consuming to sew. It's hard to ensure they are similar in size, pointing in the right direction and he coils are joined at the right places and secure. But I think they are well worth the extra effort, don't you?


I especially love the idea of up cycling something that would normally be tossed out. It's also really fun to figure out which little embellishments will work to enhance the front of the basket. While I think they are interesting and beautiful without embellishments, I like to add them as my own little artistic signature. No two baskets are ever exactly the same and it's another reason I think people are fascinated by them and want to pick them up and touch them. They are also very useful decorator items, help to keep my crafting and sewing/quilting supplies organized and they make a great hostess gift when I visits.

Here are a few more that I made this last week or so.


#savethoseselvages #selvagebaskets #clotheslinecoilbaskets #circleinasquarebasket #wavebasket #upcyclingselvages